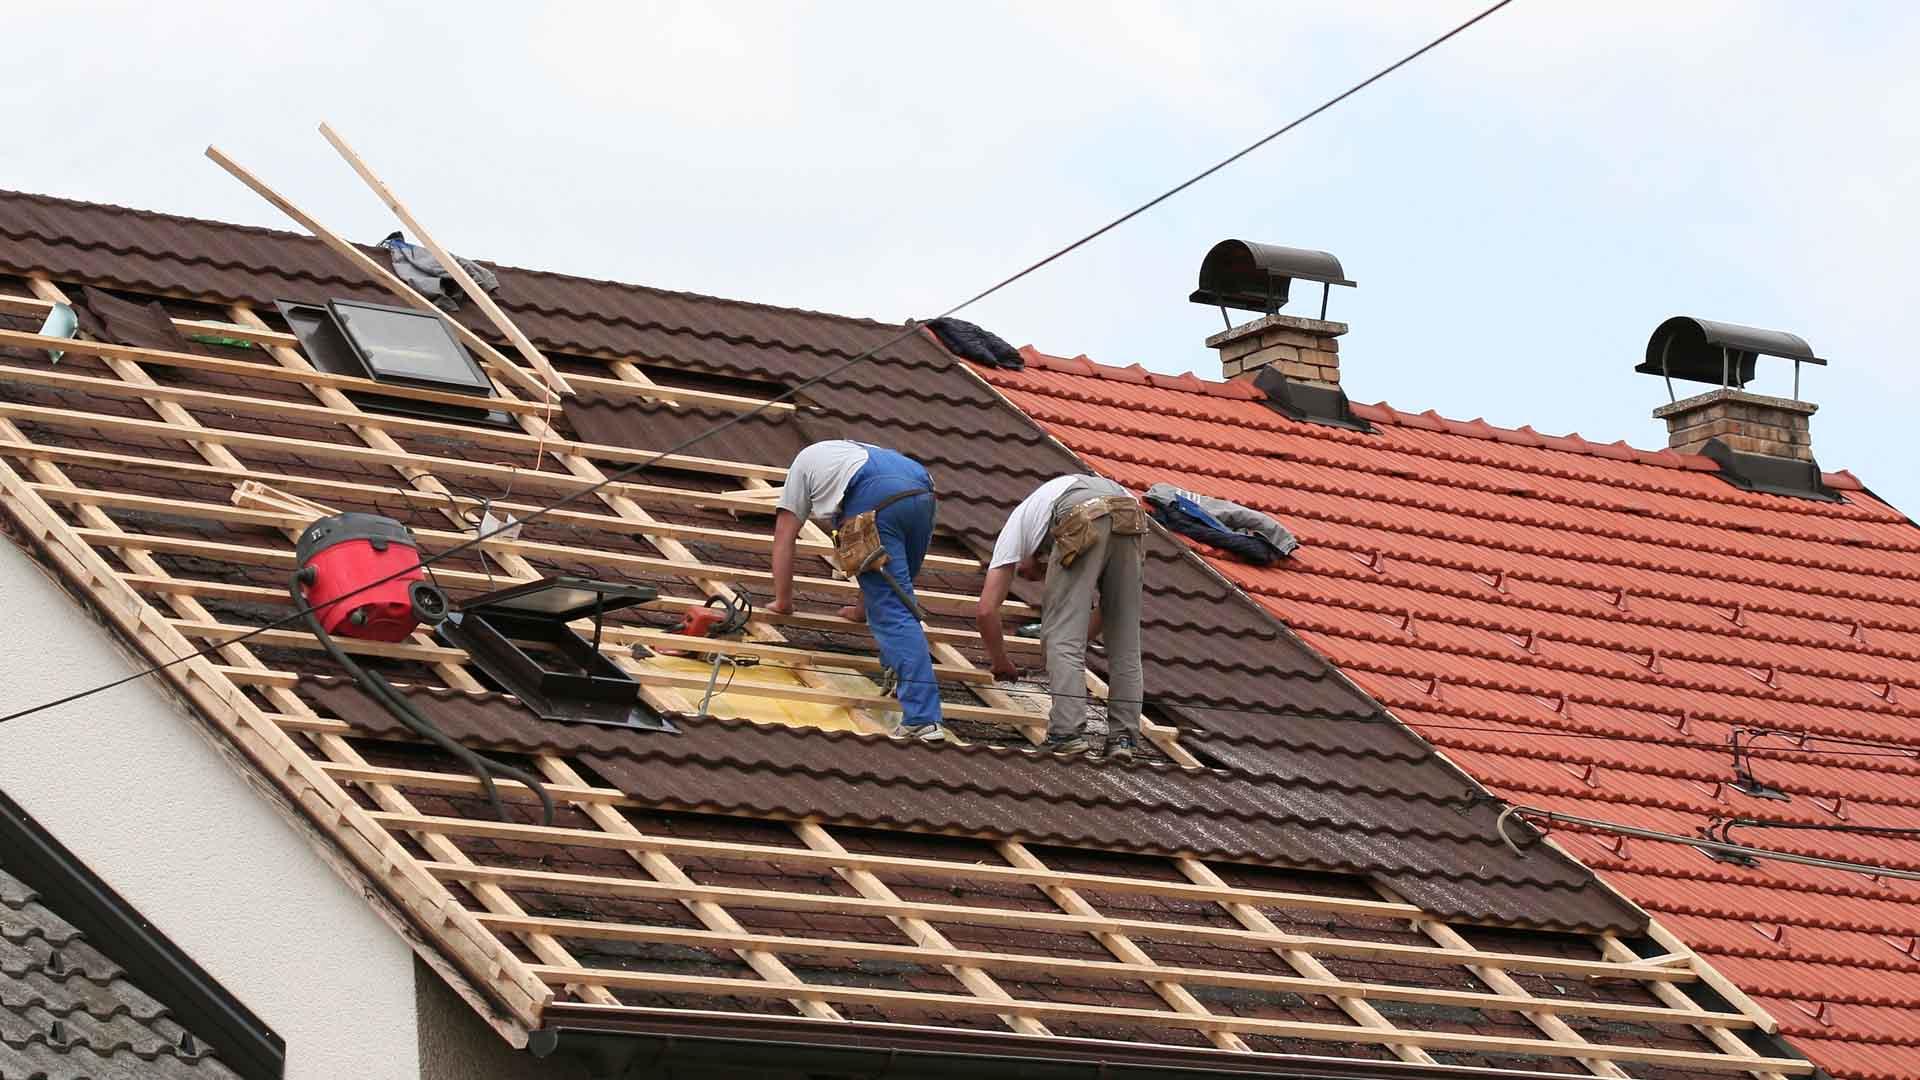
Have you ever wondered how roofing is installed? It’s a detailed process that should be followed closely to ensure it is done correctly. It can be beneficial to understand the process, even if you never plan on installing your own roof. That way, when you need to meet with roofers, you will understand what they are saying and billing you for. Additionally, you’ll be able to see if they’ve missed a step and ask appropriate questions.
Removal
The first step to a new roof is to remove the old one. Some companies will install a new roof over an old one, but that is not a good St Louis residential roofing business practice. It doesn’t allow the roof to sit correctly and could be just putting a bandage on some issues with the roof.
Drip Edge and Underlayment
A drip edge isn’t always done, but it’s advised. It prevents water from running onto your fascia boards, keeps the shingles from curling, and should be put on before the underlayment. The underlayment is vital because it stops water from getting into the house. It also prevents water from building up and creating ice dams under the shingles in winter.
Felt Paper
Felt paper increases the roof’s fire rating and helps remove water that might have gotten under the shingles. It is rolled out on top of the underlayment and stapled in place.
Shingles
A special row of starter shingles is first laid onto the roof. They are smaller than traditional shingles and create a barrier that prevents water from getting in the first seam of shingles and causing a leak. Next, the shingles are laid. They are installed in an overlapping pattern and are usually secured using a nail gun.
Flashing
Flashing is a thin, metal material, usually steel, that helps protect your roof and give it a clean, finished look. It is installed to direct water off the roof and away from specific areas. It is placed around areas where the shingles butt up against something, such as chimneys or roof valleys, where you don’t want water to stand.